며칠간 공부한 내용을 정리하면서 장고를 이용한 블로그앱을 개발하고자 한다.
장고를 이용한 블로그앱 개발 목차
1 . 가상환경 세팅
virtualenv 를 글로벌 설치 한다.
$ pip install virtualenv설치가 끝났으면 프로젝트 폴더를 만들고 이동한다.
$ mkdir myblog
$ cd myblog
vitrualenv를 이용해 가상환경을 생성한다
$ virtualenv venv디렉토리 목록을 조회해서 venv 폴더가 생성되었으면 가상환경 설치가 끝난것이다. 이제 가상환경을 활성화시켜보자
$ source ./venv/bin/activate
(venv) : $
명령줄 맨 앞에 ‘(venv)’이 붙으면 가상환경 활성이 된것이다. 가상화경을 끄고 싶으면 ‘deactivate’ 명령어 실행
이제 가상환경에 django를 설치한다.
(venv) : pip install django2 . 프로젝트 생성 및 관리자 계성 생성
기본적인 준비가 끝났으니 장고프로젝트를 생성한다
(venv) $ django-admin startproject mysite
(venv) $ cd myside
(venv) $ ./manage.py runserver
서버가 실행되면 아래와 같은 메세지가 나타난다. 중간에 미리정의된 앱이 마이그레이션되어있지 않다고 메세지가 나오는데 일단은 무시한다.
Performing system checks...
System check identified no issues (0 silenced).
You have 15 unapplied migration(s). Your project may not work properly until you apply the migrations for app(s): admin, auth, contenttypes, sessions.
Run 'python manage.py migrate' to apply them.
March 03, 2019 - 08:34:34
Django version 2.1.7, using settings 'mysite.settings'
Starting development server at http://127.0.0.1:8000/
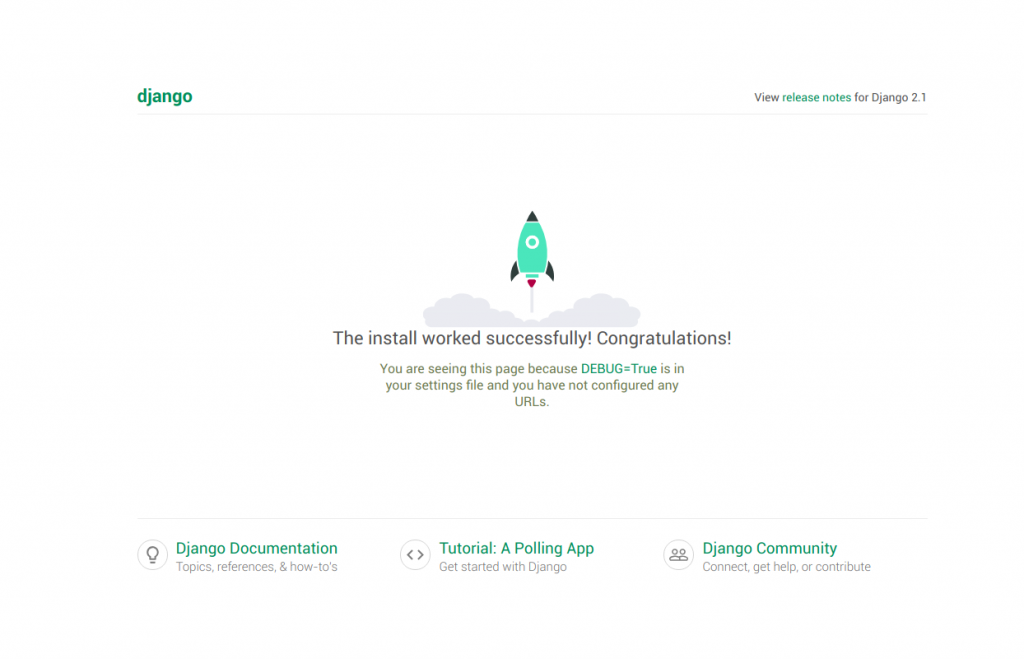
Quit the server with CONTROL-C.이제 localhost:8000 으로 접속해보자
관리자에 접속할수 있는 계정을 만들기에 앞서 데이터베이스를 마이그레이션 한다.
(venv) $ ./manage.py migrate이제 다시 서버를 실행시켜보면 좀전에 나왔던 에러메세지가 나오지 않는다.
테이블을 생성했으니 관리자 계정을 추가한다.
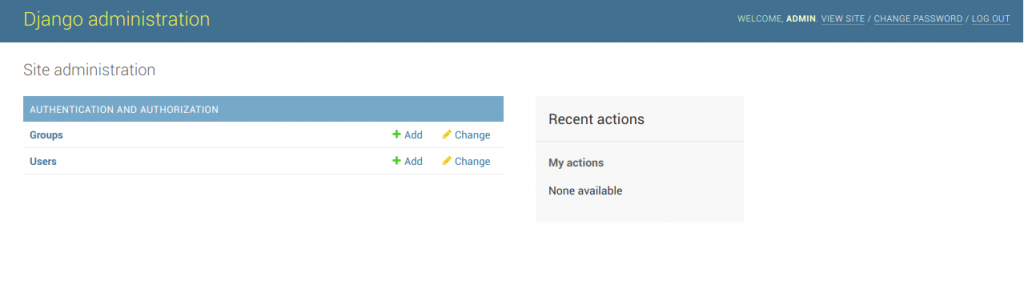
(venv) $ ./manage.py createsuperuser아이디, 비밀번호, 이메일등을 입력하면 완료됨 localhost:8000/admin 으로 접속해서 로그인이 성공하면 됨
3 . 블로그앱 생성
기본준비를 마쳤으니 실제로 개발할 블로그앱을 생성한다.
(venv) $ ./manay.py startapp myblog
4 . setting.py 에 블로그앱 등록 및 기본설정 수정
본격적으로 개발하기전에 /mysite/settings.py에서 생성한 블로그 앱을 등록해야한다.
INSTALLED_APPS = [
    'django.contrib.admin',
    'django.contrib.auth',
    'django.contrib.contenttypes',
    'django.contrib.sessions',
    'django.contrib.messages',
    'django.contrib.staticfiles',
    #생성한 블로그앱을 추가.
    'myblog.apps.MyblogConfig'
]
settings.py 하단의 서버시간을 한국으로 변경해준다.
TIME_ZONE = 'Asia/Seoul'5 . model 생성
django는 ORM을 이용하기 때문에 models.py에서 테이블을 정의한 뒤 makemigrations 로 쿼리문을 생성하고 migrate로 쿼리를 실행한다.
#myblog/models.py

from django.db import models
from django.utils import timezone

# Create your models here.
class Post(models.Model):
    autor = models.ForeignKey('auth.User', on_delete=models.CASCADE)
    title = models.CharField(max_length=255, null=False, blank=False)
    content = models.TextField()
    created_date = models.DateTimeField(timezone.now)
    published_date = models.DateTimeField(timezone.now)
테이블 구조를 정의 했으니 테이블을 생성해준다.
(venv) $ : ./manage.py makemigrations
(venv) $ : ./manage.py migrate
생성한 모델을 관리자에 등록해줘야 게시글 관리가 가능하다. admin.py를 수정해주자.
from django.contrib import admin
from .models import Post
# Register your models here.
admin.site.register(Post)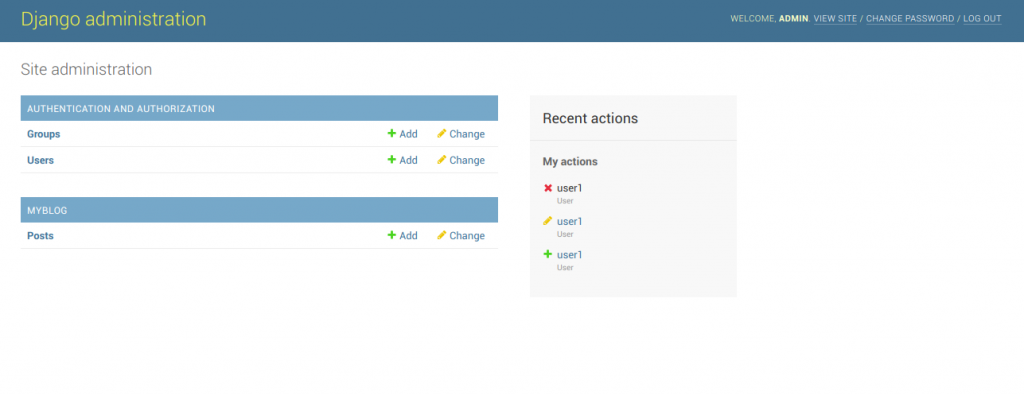
add 버튼을 눌러 게시글을 작성해보면 게시한 제목대신 post object 라고 표시된다. 이부분을 수정해주자.
# Create your models here.
class Post(models.Model):
    autor = models.ForeignKey('auth.User', on_delete=models.CASCADE)
    title = models.CharField(max_length=255, null=False, blank=False)
    content = models.TextField()
    created_date = models.DateTimeField(default=timezone.now)
    published_date = models.DateTimeField(default=timezone.now)

#관리자사이트에서 제목을 출력
    def __str__(self):
        return self.title
6 . urls.py 설정
관리자에서는 등록한 모델이 수정 삭제가 가능하지만 일반페이지는 아무것도 개발되지 않은 빈 상태다. 우선 localhost:8000/myblog 라는 주소로 접속할 수 있게 mysite/urls.py를 수정해준다.
#mysite/urls.py

from django.contrib import admin
from django.urls import path, include

urlpatterns = [
    path('admin/', admin.site.urls),
    path('myblog/', include('myblog.urls'))
]
위 코드에서 path(‘blog/’, include(‘myblog.urls’)) 부분은 url을 처리하는 패턴에 myblog/urls.py에 정의된 패턴을 사용하겠다는 뜻으로 이해했다.
mysite/urls.py에서 myblog/urls.py를 불러오지만 실제로는 해당경로에 파일이 존재 하지 않기 때문에 파일을 생성하고 url 패턴 처리를 해준다.
$ mysite/urls.py

from django.shortcuts import render
from django.http import HttpResponse

# Create your views here.
def index(requests):
    return HttpResponse('hello world!')
이제 localhost:8000/myblog로 접속하면 ‘hello world’를 확인 할 수 있다.
지금까지 설치부터 간단한 hello world 페이지 까지 작성하였다.
다음 포스팅에서는 리스팅페이지, 글쓰기, 수정 기능에 대해서 내용을 이어나가겠다.
![[heroku]로컬db 헤로쿠로db에 덮어쓰기](https://blog.ujsstudio.com/wp-content/uploads/2019/02/1-825x510.jpg)